Showing posts with label Disney Classics. Show all posts

Tuesday, August 28, 2012

Jaded Blossom Design Team Day and Mickey and Friends Monday (On Tuesday!)

Hi Everybody!It's been a little crazy with the family lately, so this weeks Mickey and Friends Monday is on Tuesday, lol!


Today is also my day on the Jaded Blossom blog!  I love that JB stamps go with soooo many images! Check out the image I used with the Kitty Kitty stamp set for my project today:


*Jaded Blossom - Kitty Kitty stamp set (sentiment, paw print)
*Disney Classics Cricut cartridge - Figero
*Timeless Twine - Lemonade Yellow twine
*Cosmo Cricket - patterned paper
*Fiskars - border punch


*This set comes with a large and small paw print.
*I used the smaller one to create this perfect accent border!


I hope you liked my project! Make sure to follow the Jaded Blossom blog for all things JB :)  And don't forget what's coming up next week!!!!!!!!!!


TFL, and hope everyone has a chance to craft today :O)
 

Monday, February 6, 2012

Mickey And Friends Monday


Hi Everybody!

Welcome to another Mickey and Friends Monday. Now you can say you have a reason to look forward to Mondays, whoo hooo!  Today I wanted to re-share a project I made for a recent blog hop.  The theme was Alice in Wonderland, so of course I immediately thought of the little white rabbit.  I'm usually late wherever I go, so he's kinda my mascot :P
 
 
*Disney Classics cartridge
*all paper used is from my scraps pile
*Stickles (on eyes and clock hands)


*Rabbit was cut at 3.27". I would not recommend cutting him at this size unless you HAD too. The clock hands, and his eyes were so small and delicate, they didn't survive the move off of the mat :P

*I decided to use blue Stickles for his eyes, and silver for the clock hands. This still kept the detail, and you can never go wrong with added bling!!
 
Make sure you come back every Monday for some more Disney inspiration. Have a magical day :O)


Monday, December 12, 2011

Mickey And Friends Monday!


Hi Everybody!
Welcome to another Mickey And Friends Monday!  It's now one of my favorite days of the week! (Weird to say about Mondays, I know!)  Today I have a couple of my Facebook friends who are letting me share a couple of projects with you.  So here we go! 


First up is Lucy Kelleher making a Mickey card using the Art Philosophy cartridge!  I wanted to show a project for all you Disney lovers that may not own any of the carts yet.  You can check out more of her crafty creations HERE.


Next is CallyAnn Cornwell with the most adorable rabbit calendar using the Disney Classics cartridge.  You can check out her crafty creations HERE.


Thank you so much to Lucy and CallyAnn for letting me share their amazing projects!!

Did you know you can link up your Disney projects every Mickey and Friends Monday and have a chance to be highlighted? Just enter your link below! Thank you for joining me for another Mickey and Friends Monday! Have a magical day :OD


Saturday, September 24, 2011

Welcome to the Disney Pixar Blog Hop!

Hi Everybody!
Welcome to the Disney Pixar Blog Hop!  Hopefully you just came from the talented Christina from http://www.creationswithchristina.com/.  If not, please head on over to see our hop hostess Shawn at http://craftychicsblog.blogspot.com/ so you can start from the beginning :)

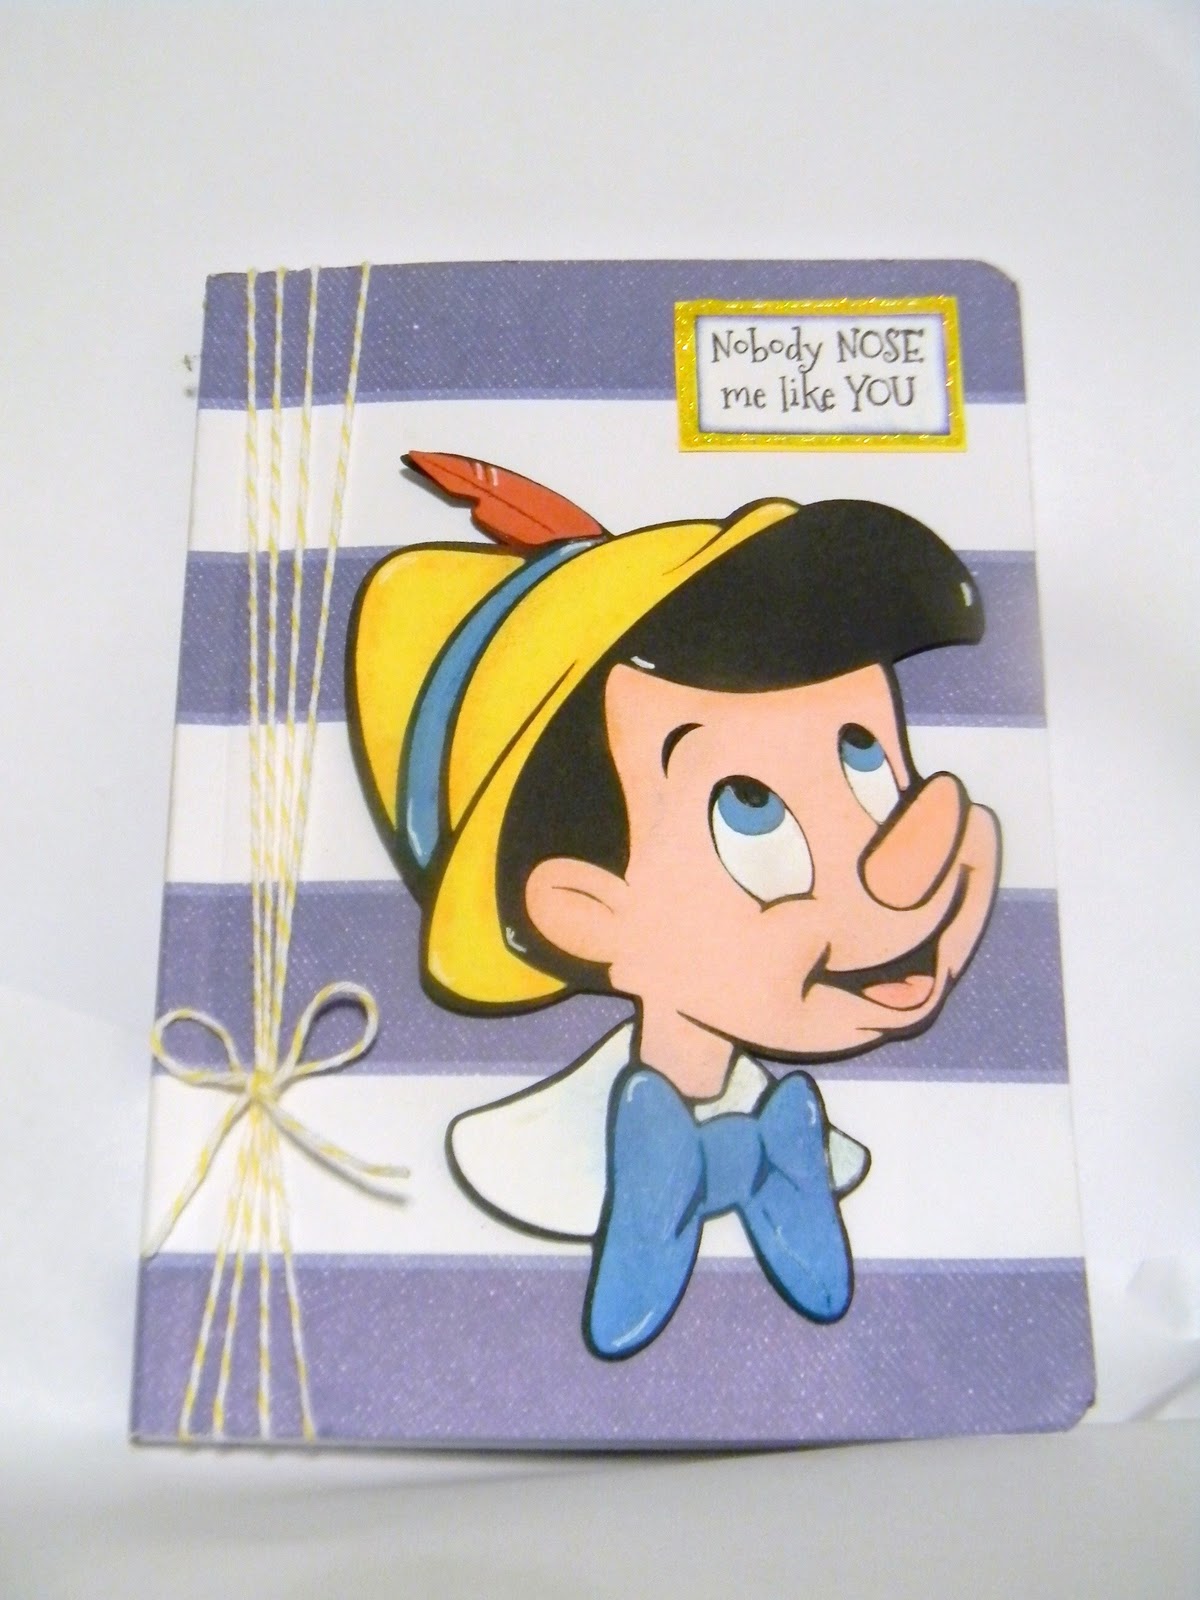
I am so super excited to be a part of this hop!  I absolutely love Disney, and was thrilled when Cricut started coming out with Disney and Pixar cartridges :O)  Confession time.  When I saw this stamp from Pink By Design, I knew right away what cut I wanted to use with it!  And I thought it would make a great sentiment to put on a journal/diary.  Here is how my journal turned out:

*Disney Classics cartridge
*Pink By Design = Animated Greetings set
*twine from my stash
*pre-made journal from Michaels
*yellow Stickles


*I usually like to ink around all the parts of my cut, but I forgot to do that with this one :(
*Then I remembered my chalks! 
*I took coordinating chalk colors, and colored around the outter edge of each piece.


*Come on, how perfect is that?!?!

LET'S NOT FORGET THE BLOG CANDY!!

Would you like to win this cut for your own project??  For my blog candy, I'm offering to give this PRE-ASSEMBLED, super cute Pinocchio head to one lucky commenter!

To enter:
1. Leave a comment on this post.
2. Please be a follower of my blog :)

If you enjoyed my Disney project, I'd love for you to check out Mickey and Friends Monday's here on my blog.  Every Monday there is a new Disney project to share, either from me or a talented guest designer.  You can see some of the previous posts HERE.


And now head on over to see
Lori at 

and check out her amazing creation!


Here is the lineup for this two day hop.  Don't miss it!!

Day One - September 24th


Day Two - September 25th


Link up Party - September 26th
All of you are welcome to join in this also. You can link up Disney Pixar scrapbook layouts, cards and other items at each of the following sites
Shawn http://craftychicsblog.blogspot.com/ - Link your scrapbook pages
Melissa http://www.disneydreamerdesigns.blogspot.com/ - Link your cards
Amy http://www.lovetocrop.com/ -  Link any other Disney projects (cakes, decor, anything that is not a card or scrapbook layout)

Hope some of you create a project to join in on ALL OF THE DISNEY FUN!!!!

Monday, August 15, 2011

It's Mickey And Friends Monday!!!

Hi Everybody!
I actually found a reason to be happy about Mondays!  Because that means it's time for Mickey and Friend Mondays!!!  Today my guest designers are two of my amazingly talented design team sisters from Pink By Design.  Check out their beautiful projects, and please click on there names to head to their blogs for more great pictures :) 


My tip is that sometimes The white cuts are too intricate and don't cut, and some of the cuts that are supposed to show black just don't cut all the way... so my best friend... A white & black Gel pen to fill in the gaps :-) I will try to think of a better way to explain it.

Woody was cut at 5.   I did other characters inside and cut them at 3, but they were all cuts of their heads and no bodies

(I ended up using my gel pens a lot because I got tired of using white paper just to cut little eyes out!)


Here's a couple of tips for working with intricate cuts like this (which Disney seems to have a lot of). First, leave all of the little pieces on your Cricut mat while you're assembling the cut. That will make sure you don't lose anything. 
 
Also, if you want to ink up the little pieces for a little more depth of color, use crafting tweezers, such as Tweezer Bees to hold the little guys. That way you won't drop them and your fingers won't turn into rainbow messes. 
 
Oh, and another thing...if you're laying out all of the pieces on the base layer, just to see how they fit, make sure your window is closed! One good gust of wind, and I was crawling around on the floor looking for Jiminy's tongue! (Don't worry...I found it!) :o)


I'm so in love with these projects!  I hope they inspire you to try some Disney cuts for yourself, they are soooooo worth it!  Have a Magical Monday!
Copyright 2010
Blog Design by The Shabby Vanity

With Tweaks and Additions by VK Design Company