Showing posts with label Pink By Design. Show all posts

Wednesday, May 16, 2012

Cooking With Cricut Challenge

Hi Everybody!
It's time for another
Cooking With Cricut Challenge!  This challenge is a special one.  It's
cards for 4 year old Brandon.   Here is a little bit about Brandon and his situation:


Brandon was just 4 one day, riding in the family car for a trip to McDonalds for a Happy Meal, when a tragic car accident changed the lives of his young family. Brandon's mother, aunt and sister were all seriously injured and rushed to area hospitals; his mother's boyfriend (the driver of the car) died of his injuries. Brandon was pulseless at the scene of the accident, was revived and taken to a trauma center.


Brandon likes watching other kids playing video games, enjoys superheroes like Spiderman and Batman, sports and Legos. He and his whole family would appreciate cards, prayers and thoughtfulness for this young man as he begins his journey home, through placement in a long term care facility for a stay long enough that Mom can be trained and find a new suitable home where Brandon's complex care can be managed.


I knew just the perfect card I could create for this amazing, and brave little boy.  Here are the details:


*Wrap It Up Cricut cartridge - card feature
*Pink By Design - Our Kids set (sentiment)
*Cuttlebug - Swiss Dots embossing folder
*all paper is scrap from my stash
*Stickles - silver


I hope you enjoyed my project. Now it’s your turn!!! Head on over to Cooking With Cricut to enter your project. TFL, and hope everyone has a chance to craft today :OD

Tuesday, December 27, 2011

It's Pink Tuesday! Pink Cricut Design Team Day!

Hi Everybody!
It's Pink Tuesday! Tuesday is my day to show a Pink By Design project I've made. 
Now that we have all fully recovered from Christmas (hee hee), we can start thinking about projects for all the other celebrations in our lives. 

My brother recently graduated from college, so I made some of the decorations for the party.  For all the details, please head on over to see my post on the PBD blog HERE.  PLUS, there is a bonus project and a great tip!  Here's a sample of what you'll see.............


Well, you'll need to head over to my post on the Pink By Design blog HERE to see what the tip is, and the full tutorial on how I made this project!
 
TFL, and hope everyone has a chance to craft today :OD

Monday, November 28, 2011

Welcome to The Queen's Royal Digi Monday Challenge!


Hi Everybody!
Welcome to the THE QUEEN’S ROYAL DIGI MONDAY CHALLENGE!! This challenge will be held on the LAST Monday of each month and has a LOT of VERY talented designers.  Make sure you check out all their designs on THE SCRAPBOOKING QUEEN'S BLOG!

The theme for this challenge is Christmas/Winter Wonderland and here are the projects I did for our amazing sponsors:

*Timeless Twine - Christmas Bakers Twine
*Art Philosophy Cricut cartridge - scallop
*My Mind's Eye = patterned paper


*I took the twine, and glue dots and created loops behind the image.


My next project is using an image from Ai Factory:

*Ai Factory image
*Pink By Design = Old Time Christmas set
*Timeless Twine - Christmas Bakers Twine
 *Me and My Big Idea = patterned paper
*Snowflake embellishments from my stash


My final project is using an image from Digi Doodles:

*Digi Doodles = Christmas Globe
*Pink By Design = Old Time Christmas set


I hope you enjoyed my projects!  Now head on over to THE SCRAPBOOKING QUEEN'S BLOG to enter the challenge with some fantastic prizes :)

Monday, November 14, 2011

Home Hanging with Acrylic Paint with Pink Cricut Design Team Day!

Hi Everybody!
It's Pink Tuesday!  Tuesday is my day to show a Pink By Design project I've made.  Today I want to share a wall hanging I created.  Read the whole post to find out a different way to use your PBD stamps!!


Here's what I used:

*Pink By Design = Argyle Background stamp, Believe in Yourself - July 2011 Stamp of the month
*acrylic paint
*paintbrush
*paper scraps


**VERY IMPORTANT TIP!!**

Well, you'll need to head over to my post on the Pink By Design blog HERE to see what the tip is, and the full tutorial on how I made this project! 

TFL, and hope everyone has a chance to craft today :OD

Thursday, September 22, 2011

Creative Cutter Room Fall is Here Blog Hop and Challenge!


Hi Everybody!
Welcome to the "Fall is Here" Blog Hop and Challenge with the Creative Cutter Room! How about a fun hop and challenge?

Theme: Fall/Halloween themed project and must include 3 elements!

Visit each of the following 3 Design team members, find the required element from each DT and submit your new project at the Creative Cutter Room for a chance to win a prize!


And what is the prize?


an i-rock from Imaginisce


Challenge Starts today Sept 22 and runs until October 5!

You will need to collect 3 elements total and include each element on your project and then submit your new project at the Creative Cutter Room!

My Required Element: Use a sticker.  Here is the project I made using all 3 elements!!

*Pink By Design = Guess Who set (September Stamp of the Month set)
*Martha Stewart = black spiderweb paper
*Stampin' Up! = orange patterned paper
*Creative Memories = Autumn/Fall sticker pack (stars)
*ribbon from my stash
*purple and yellow Stickles


*Sooo in love with this set!  The figures are A-DORA-BLE!!


Looking forward to seeing your creations!

Some Rules to keep in mind while playing along:

*Project submissions must be new, no back linking
*CCR must be mentioned in the description with a link back to here
*Entry must fit theme to be qualified for the prize
*Prize must be claimed within 2 weeks
*Please link your project posting not just your blog


You have until October 5, 2011 to enter your project.

Here is the line up you will need to follow to collect all the elements:

**Please note Christel will have a Completed project using all the elements she will not have a required element**

Monday, September 12, 2011

It's Pink Tuesday! Pink Cricut Design Team Day!

Hi Everybody!
Whoo hooo it's my turn to share a Pink By Design project with you! Halloween is my absolute favorite holiday. How could you not like a holiday where they just give you candy?!?! So I'm starting my decorating early, and decided to make this door hanger. Here are the details:
*Mini Monsters cartridge
*Pink By Design = GHOSTLY GREETING set (available at Oh My Crafts.com)
*Martha Stewart = spiderweb punch around the page punches
*twine from my stash
*Stickles = purple, red


There are MORE pictures, full details, and an important tip for this project on the Pink By Design blog. I hope you will check it out, and please leave some comment love!  I will proudly be hanging this in my new house, and totally ready for Halloween!! Don't forget to head over to the message board for lots of project ideas, challenges, and more.  And head back tomorrow to the PBD blog for another inspirational project from the Pink By Design Team :D

Tuesday, August 23, 2011

My Memories Suite Software Review & Give-away!!

Hi Everybody!
I'm pretty excited for my post today.  Today is my first time doing digital scrapbooking!  I have been given the opportunity to try My Memories Suite:


This is a fun and easy digital software that lets me create fun and delightful projects including scrapbook pages, cards, home decor and more.  I will definitely be sharing more projects with you all using this program!  The project I'm sharing today is probably one of my favorite projects ever! 

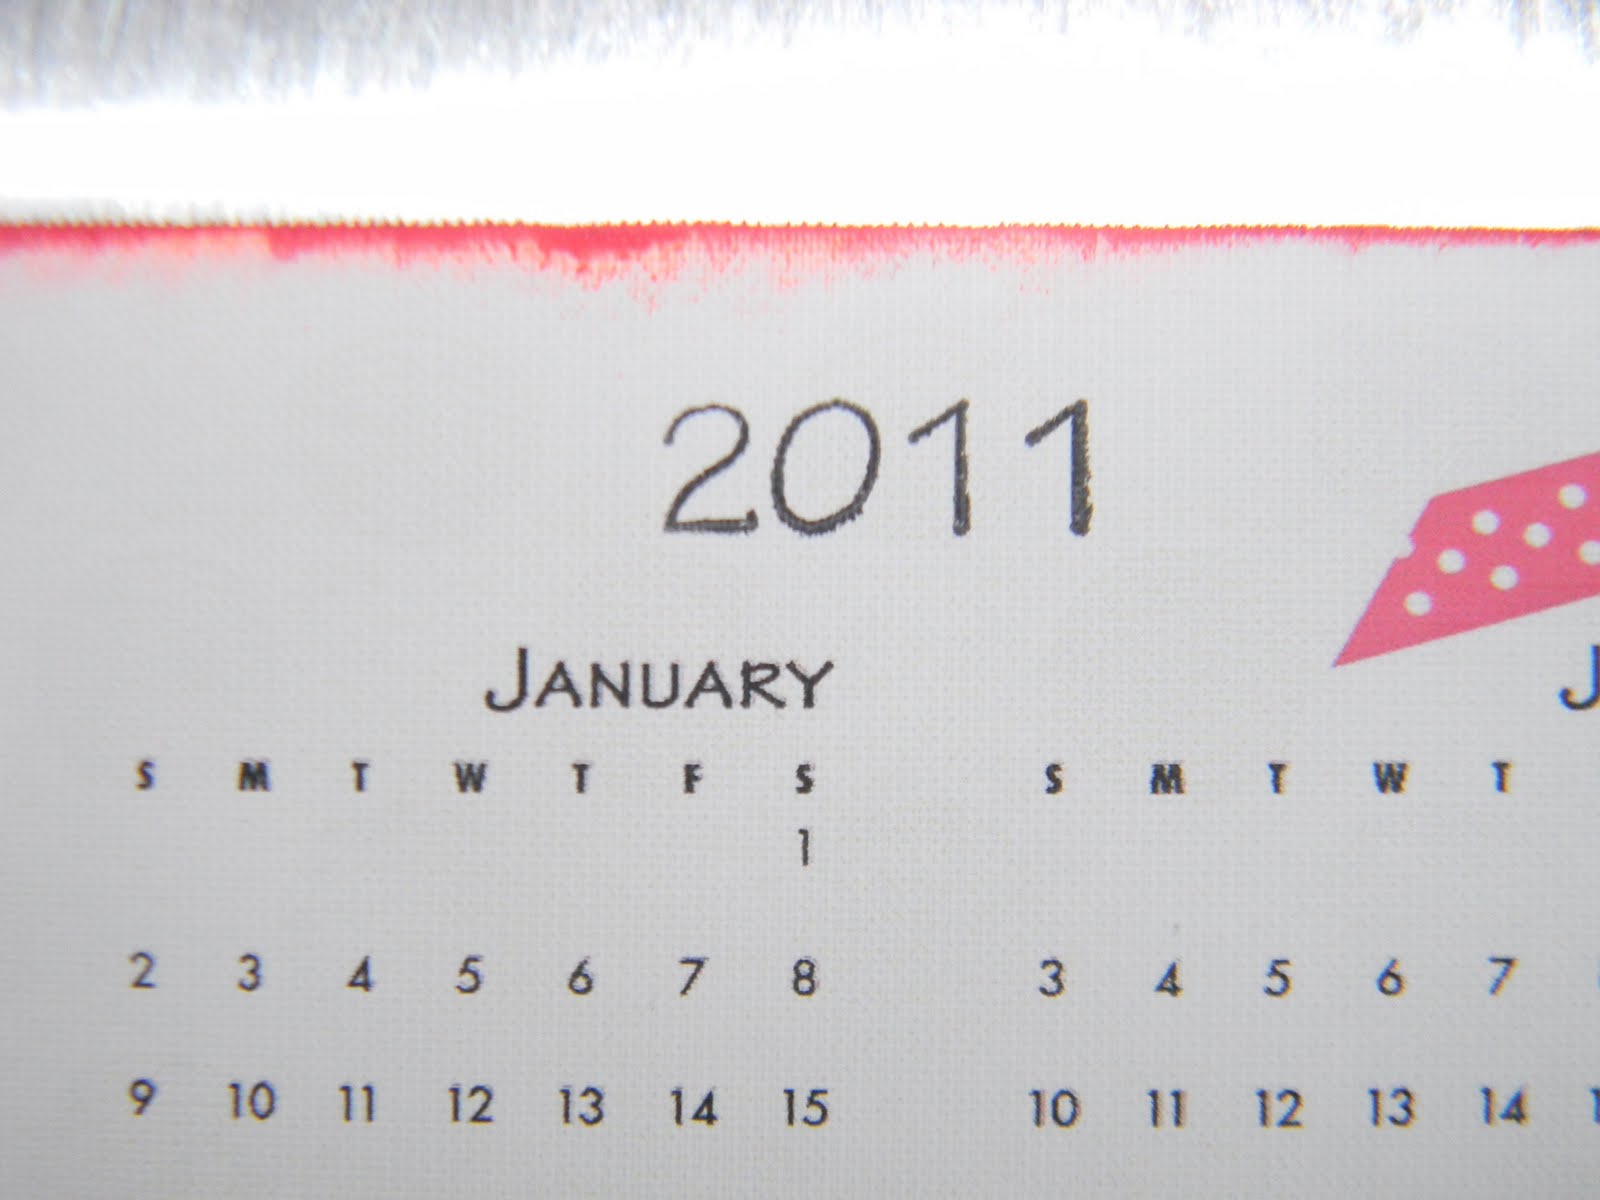
I decided to use a calendar option from the MM store.  You can personalize every project exactly how you want it.  Here are the details:

* My Memories Suite Scrapbooking Software
*Square 1 =  (printable, repositionable and removable
adhesive-backed fabric)
*Pink By Design = Hats Off set, All In The Family set, Scripted Year set


 Here's how the calendar looked like when I opened it up in the program:


*The gray portions on the calendar are the parts that may be cut off or trimmed when the album is bound into a book.  You get a helpful pop up letting you know this when you first start your project.

*You can see some of the featured designs on MyMemories.com on the left side, and all the options you can use on your project on the right side.

*Here's how I changed the project to get exactly the colors and design I wanted:

-the ribbon from yellow to red
-added the bow towards the top (I could have placed it wherever I wanted it!)
-added the 3 flower buttons
-added the notepad (also an available embellishment in this program)


*After I printed it, I decided I wanted to add the year, so I stamped it using the Hats Off set from PBD. 


*The drop-and-drag feature in this scrapbook software make it super easy to add pictures!  Isn't my family gorgeous?!?!


*After looking at this picture, I decided to add this sentiment from the PBD set All In The Family.


*I added this cute little notepad to write quick little notes.  If you use pencil, you can use it over and over again!

* Stamp is from PBD set Scripted Year.


*The reason I wanted to make this project so badly was because I have a "naked" stainless steel refridgerator.  It KILLS me that I can't just throw on a magnet to put up my kids artwork or reminders.  This program is a perfect marriage to the Square 1 product, and allowed me to FINALLY put something up on my 'fridge!

*This has been up for about a week and a half and leaves no marks on the door :)

And now guess what?!?!?!  My Memories Suite  has been awsome and is letting me GIVE-AWAY.....

One Memories Suite software download!!

How cool is THAT! So leave a comment on this post and I'll draw a lucky winner on the date listed below.
 
Here is what the winner will receive:
- A unique download code for you to download the software on your computer so you will have the program to design and create unlimited projects.

-Give-away will go Tuesday August 23rd through Saturday August 27th - 8 pm.   

- I will draw one lucky winner on August 27th via random.org.

To enter to win:

1. leave one comment on THIS post for a chance to enter to win.
2. Please visit www.MyMemories.com.  Then come back and let me know what your favorite digital paper pack or layout is in a comment.
3. leave me a way to contact you in case you win. The winner will have 48 hours to respond or another winner will be drawn.

For extra entries leave a comment on any of these My Memories Suite sites.  Be sure to come back and leave a comment for each one that you do!

Blog- http://blog.mymemories.com/
Facebook- http://www.facebook.com/mymemoriessuite
Twitter- http://twitter.com/#!/mymemoriessuite


Can't wait to get this scrapbook software??

If you can't wait for the giveaway -- and you want to try this super easy digital software right now -- I have another TREAT for you.


Get $10.00 off the purchase of this fabulous software. Reg. $39.95 ---- $10.00 using the Promo Code = $29.95 and so worth it!!
Use this code during checkout and you're ready to go!  Download will begin and you could be using this amazing software in no time flat!


PROMO CODE:
☛ STMMMS77353 ☚
The software will only be $29.95.


<><> <><> <><> <><> <><>
Use the PROMO code STMMMS77353 for $10.00 off!

Thanks for sticking with me through this long post, but I hope you enjoyed it!  Good luck, and TFL :oD

Tuesday, July 19, 2011

Pink By Design Team Project - A Sandy Day at the Beach Layout

Hi Everybody!
I’m so happy to be back from vacation!  We had such a great time, and it was really nice to get outta town for a while.  We actually had to drive about 8 hours to get to our vacation in Utah. Since that’s a long time sitting, I decided to throw all the Pink By Design stamps that would fit into a 12 x 12 project case, some inks, and paper and see what I could create in the car! It was definitely a challenge only using my lap as my creative space, but a fun challenge :D I decided to use one of the sets from the newest release, Just Beachy. When I got home, I decided to add a little more texture to it with some sand. Here’s how my 8″ x 8″ layout turned out:

*Cloudy Day background stamp
*Peachy Keen Stamps = Wide Eyed Kid Assortment set
*Elmer’s Craft Bond Spray Adhesive = for sand
*Echo Park paper = fish paper border
*Creative Memories mat pack = umbrella and towel
*Cosmo Cricket paper = sun journaling spot
*all other paper is scraps from my stash
*Stickels = on top of “waves”


*I really love the texture the sand adds to the page, but you have to make sure to use the right adhesive! I first tried Scotch Quick Dry Adhesive……


*……it didn’t work :( The sand was all clumpy and was uneven across the page.
*Then I tried the spray adhesive, and that worked much better! The sand was even, and REALLY stuck.


*I added some white glitter to the sand before I adhered it so it would sparkle more. It’s a blingy beach!

*I am in love with how stamped images look when used on patterned paper. I will definitely be doing this more!


*I thought a little twine was the perfect touch on this little sun journaling spot :)
*I also wanted a sun image on the upper right. So I took the sun from the Just Beachy set that looks like this……

*……. and flipped it upside down! When inking it up I made sure not to get any on the bird.


*I used the Cloudy Day background stamp to make a mat.
*I added a picture of a beach bonfire as a finishing touch.


I hope you all like how it turned out, and that you will be inspired to add some texture to your projects! I’d love for you to leave a comment and let me know what ya think.  And make sure you check out the Pink By Design Blog everyday to see more amazing projects from my fellow PBD design team members!  TFL, and hope everyone has a chance to craft today :oD

Wednesday, July 6, 2011

Cooking With Cricut Anything Cricut

Hi Everybody!
It's time for another Cooking With Cricut challenge!  This time it's an ANYTHING CRICUT GOES challenge! We want you to show us your BEST CRICUTLICIOUS PROJECTS :-)  I teach a Papercrafting class once a week, and one of the ladies really wanted to make a purse.  So this is what I came up with:

*Forever Young cartridge = purse and glasses (glasses are positive cut from the purse!)
*Pink By Design sentiments = Jump & Jive set (on card),
Shop-A-holic set (on purse)
*paper is 12" x 24" paper by K&Company (found at Joanns)

 
*I like to use the 12" x 24" paper for these kind of projects, because they are the perfect size to stick a present in!
*The glasses shape is just a cut out, but I added some blue glitter paper behind it, and cut an extra set of the shades.


*Such a perfect sentiment for such a sassy purse!


*Ok, I have to be honest.  Ever since I saw this sentiment (which was quite a while ago!), I could not WAIT to make this card!
*The best part was I made it from the scraps of the cut out from the purse!
*And of course gotta add the bling :)

So there ya go, I hope you all like my projects!  Now make sure you head on over to Cooking With Cricut to enter your BEST CRICUTLICIOUS PROJECTS, and to check out what the rest of the amazing design team made :oD

*********************************
I'm also entering these challenges:

http://cricutcardzchallenge.blogspot.com/ = make a card with summer apparel or an accessory, using any cartridge and colors you'd like

Tuesday, July 5, 2011

Pink By Design Team Project and A PBD Coupon

Hi Everybody!
I'm happy to share that today is my day to post on the Pink By Design blog!  I decided to use a sketch today (which was kinda scary!).  Here's how my project turned out:


To see the sketch, more pictures, and details please head on over to my post on the Pink By Design stamps blog.  Also, don't forget to check out the messageboard so you don't miss all the challenges, swaps and more! 

P.S. Don't forget TODAY's the LAST DAY!!! Celebrate Independence With SAVINGS!!  Check out this SALE. SAVE 18% on all products from Pink By Design.

USE CODE: BigBangJuly

Limited to instock items only!

CLICK HERE TO GO TO THE PINK BY DESIGN STORE


TFL, and I hope everybody has a chance to craft today :o)

Monday, July 4, 2011

Announcing Mickey And Friend Mondays & Happy 4th Of July!!!

Hi Everybody!
I'm so excited for my post today!  Not only is it the 4th of July (HAPPY 4TH OF JULY!!!!!!!!!), but I am so happy to announce the premier of Mickey and Friends Mondays!  I love Disney and all it's characters, and all the magic that they bring.  So when Cricut started coming out with these carts I was thrilled!  I was NOT so thrilled when I realized they were a little more intimidating to put together than cuts from other cartridges.  I hope to inspire everybody to give these cuts a try.  They are (in my opinion) more work to put together, but SO worth it!  I have invited some guest designers to help me spread the Disney magic.  We will all be sharing some tips with you on how to make them a little easier to put together, and also just be showing some finished projects with great ways to use these cuts.  I hope you enjoy these magical projects and will come back every Monday for your dose of  Disney :)

The first project I have to share with you is actually from the Disney Classics cartridge.  I can't tell you how many times I gasped outloud while looking through the handbook for the first time.  I was so happy to see so many of the Disney characters I loved.  In the first few pages of the handbook is the example project, and this is what I decided to make.  I LOVED the different fold of the card, and the skunk character Flower.  Here is how it turned out:

*Disney Classics cartridge
*Flower (skunk) cut @ 4" (not recommended to cut smaller than this)
*Pink By Design sentiment = Animated Greetings
*Here is the link to the handbook that has all the measurements for the card base and the character:


I actually made this card in the Papercrafting class I teach. We made the base of the card first, and then we went layer by layer in putting Flower together.  And Sarah from Pink By Design created the PERFECT stamps to go hand in hand with the Disney carts!   

A little tip for putting this cutie together is definitely go one layer at a time.  And also lay the piece down where you think it should go WITHOUT adding adhesive.   Once you're sure it's facing the right way and in the right place then go ahead and adhere it down. 

My first Guest Designer is Alma from Alma's Pink Life!  She posted a sneak peek on her blog on Friday.  With the crazy holiday weekend she didn't get a chance to create a new project for today, but she has an AMAZING tip for these characters using the Imagine.  Here is her blog post:

Imagine VS Expression - Mickey Mouse and RGB Code Book
(click here to see the post on her blog)


I have been meaning to do this for a LONG time but I'm actually participating at Crazy about Cricut's blog on Monday to showcase how to help you put together some Disney characters and I thought I would should you a sneak peek here!

So, both of the Mickeys are cut out at 4" except the one on the right is cut from my pink Expression and the one on the left is from my Imagine using just white cardstock! (I printed and cut, including the black base). I will list settings towards the bottom of the post so you can kind of get an idea what worked for me. Obviously, I believe the Imagine Mickey came out way better than the Expression but here are some tips I have learned:

1) CARDSTOCK MATTERS! It truly does! I tried cutting Disney characters with some of the Hobby Lobby 8 1/2 x11 pack and it would just rip. I suggest using a heavier cardstock so the cuts come out nicer.

2) Play with your pressure and speed. A lot of times you will get a completely different cut just from changing your pressure and/or speed. And don't be afraid to use multicut if you see that you need to lower your pressure.

3) Don't cut Disney characters smaller than 4". And even that is pushing it. Depending on how many layers, the rule of thumb for me is that the more layers, the bigger the size needs to be. Besides, on scrapbook layouts bigger cuts will match great!

4) Do what I did and make yourself an RGB code book to keep near your Imagine. LIFESAVER!!!! The Imagine Mickey is true to color as oppose to the Expression where I just used cardstock I had on hand and the Imagine truly made it soooooooo much easier to cut. It didn't move or rip on me once. I <3 my I!


IMAGINE


Expression


Expression settings
**Settings for black base, face and eyes and shoes)
Blade 5
Pressure 4
Speed 4

Shorts
Speed 3
Pressure 3
blade 6
multi cut 2x

Imagine Settings:
Speed 4
Pressure 4
Blade 6

**RGB CODE BOOK**

Seriously a LIFESAVER and A MUST if you are an Imagine owner. I wanted to make a book to keep near my Imagine so I don't have to constantly look up RGB codes so this is what I came up with.

I took a 8 1/2 x 11 Your Story binder and printed out PDF files of RGB codes from Scrapmaster Paradise pdf files. I printed them out and bound them to my book. EASY. I now have them next to my I and it came in handy for when I printed and cut my Mickey Mouse. :) The cover is from Elegant Edges and the font is from Sesame Street.


Isn't that a GREAT tip??!!  After leaving a comment here, please head on over to her blog and let her know whatcha think of her tip!

Thank you so much for joining me for the first Mickey and Friends Monday!  I hope you enjoyed it, and will come back for sure every Monday!  Have a magical day :oD
Copyright 2010
Blog Design by The Shabby Vanity

With Tweaks and Additions by VK Design Company