Hi Everybody!
I have a double dose of projects for you all today! First, welcome to PSA and The Queen's Royal Court Back To School Blog Hop! The Queen's talented designer's have one awesome week for you showcasing PSA Essential Stamps with a back to school theme! You should have just come from my good friend Gaby from Gaby Creates. If not, please head over to the hop hostess Theresa at The Scrapbooking Queen's blog so you can start from the beginning! The Queen's talented designer's (for one awesome week) will be showcasing for you PSA Essentials.
And if that's not exciting enough for you, today is also Mickey and Friends Monday here on my blog! Each of the Queen's designers were given a set of stamps to highlight for this hop. I got the Mom's Calendar set.
Here are the project details:
*Mickey and Friends cartridge = airplane, cloud
*paper from my stash
*Stickles
*Pink By Design = Cloudy Day background stamp
*Peachy Keen Stamps = Everyday Face assortment
*twine from my stash
*Did you know there are two layer cuts on most of the Disney carts? They are listed under the icon feature. They have the same great cute style of Disney, but are MUCH easier to put together!
*Here is the handbook page where I chose the 2 cuts for today's project.
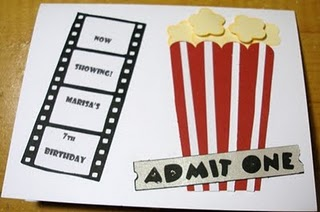
*My kids are going back to school today :( But I'm already thinking about taking them out of school for another mini vacation! Since we have to let our school and teachers know when we will be absent, I made this notecard to let them know my kids will be going on vacation!
Today my guest designer Sue from http://scrappindhilly.blogspot.com/ has an amazing layout to share. Here's what she said:
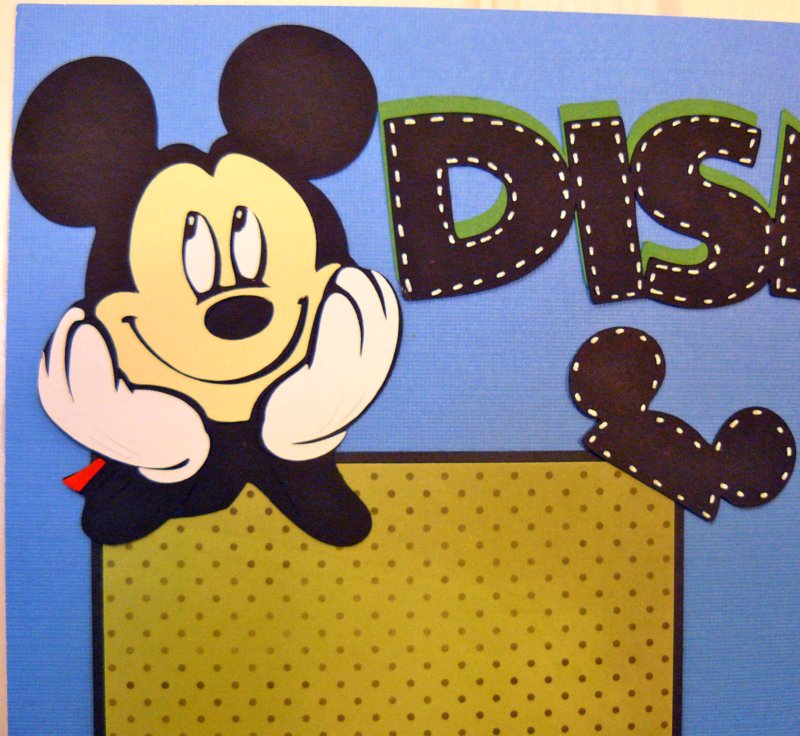
I have created a two page layout using the Mickey and Friends and Mickey Font cartridges.
I recently made this layout to scrapbook some pictures from our trip to Disneyland last year.
Each of the characters are cut from the Mickey and Friends cartridge at 4.0 inches. When cutting out Disney characters, it is best not to cut them any smaller than about 4.0 inches.
There are many small pieces to each of the characters. I leave the pieces on my mat as I put each character together. This way I don't loose any pieces.
If your new to using your Cricut, it is also helpful to use the cartridge handbook so you can see what pieces need to be cut out and in which color.
The title for this layout is cut from the Mickey Font cartridge at 2.0 inches. Instead of using the shadow feature for this font I just cut the title out twice in different colors and offset the layers.
The Mickey ears on top of each of the photo mats was also cut from the Mickey Font cartridge at 2.0 inches. The Mickey ticket is also cut from the Mickey Font cartridge at 3.0 inches.
I also used a white gel pen to add extra detail to some of the die cuts.
Aren't those layouts beautiful? I think the Disney cuts make projects look so professional and finished!
Now don't forget about the BLOG CANDY!!! There is an amazing GRAND PRIZE from PSA:
1 custom stamp,
1 Peel and Stick pack,
1 black ink,
1 color ink,
1 alignment tool.
85 retail value!!
To enter:
1. Leave a comment this post.
2. You must leave a comment on each and every blog in this hop to enter for the grand prize.
3. It would be awsome if you became a follower of my blog! :oD
Now head on over to see some more PSA inspiration from
Here is the lineup in case you get lost or need to stop along the way:
Theresa
Cristi
Gaby
Jenny <--YOU ARE HERE
Jin
Kassidy
Liz
Raven
Libby: